How to Open Your Meta Quest 2 Controller for Maintenance and Repairs
Have you ever found yourself frustrated with joystick drift or unresponsive buttons on your Meta Quest 2 controller? You’re not alone, and the good news is that tackling these common issues doesn’t require professional help or a hefty service fee. By learning how to safely open and disassemble your Meta Quest 2 controller for maintenance, you can not only fix these pesky problems but also extend its lifespan significantly. In this guide, you’ll discover practical steps and expert tips on how to take apart your controller, address internal issues, and perform repairs with confidence and ease.
Key Topics Covered
- Essential Safety Precautions: Learn how to prepare your workspace and protect sensitive components before opening your Meta Quest 2 controller.
- Step-by-Step Disassembly Instructions: Follow a straightforward process on how to safely open and disassemble your controller without causing damage.
- Handling Internal Components: Get tips on cleaning buttons, fixing joystick drift, addressing battery issues, and performing other maintenance tasks inside your Meta Quest 2 controller.
- Expert Repair Tips: Keep your repair project organized and avoid costly mistakes while disassembling and reassembling your controller.
- Benefits of Regular Maintenance: Understand how regular upkeep can prevent problems and enhance the performance of your Meta Quest 2 controller.
Dive into the article for a deeper understanding, and take control of your Meta Quest 2 controller’s performance by learning how to open, maintain, and repair it yourself!
Safely Disassembling Your Meta Quest 2 Controller: A Comprehensive Guide
Disassembling your Meta Quest 2 controller can seem daunting, but with the right approach, it’s entirely manageable—even for beginners. Whether you’re fixing joystick drift or cleaning sticky buttons, following proper safety protocols is essential to avoid damaging your device. Here are practical steps and expert tips to help you work like a professional technician.
Essential Safety Precautions
1. Power Down and Remove Batteries: Before you begin, ensure the controller is turned off and the batteries are removed. This eliminates the risk of short circuits and protects against potential chemical leaks or corrosion that could damage internal components.
2. Prevent Electrostatic Discharge (ESD): Electrostatic discharge can irreparably harm sensitive electronic parts. If you don’t have an antistatic wrist strap, simply touch an unpainted metal surface—like a radiator—to ground yourself and discharge any static electricity.
3. Prepare a Clean and Organized Workspace: Set up a well-lit, clutter-free area. Use small containers or magnetic mats to keep track of tiny screws and components. A tidy workspace not only enhances efficiency but also reduces the chances of losing critical parts.
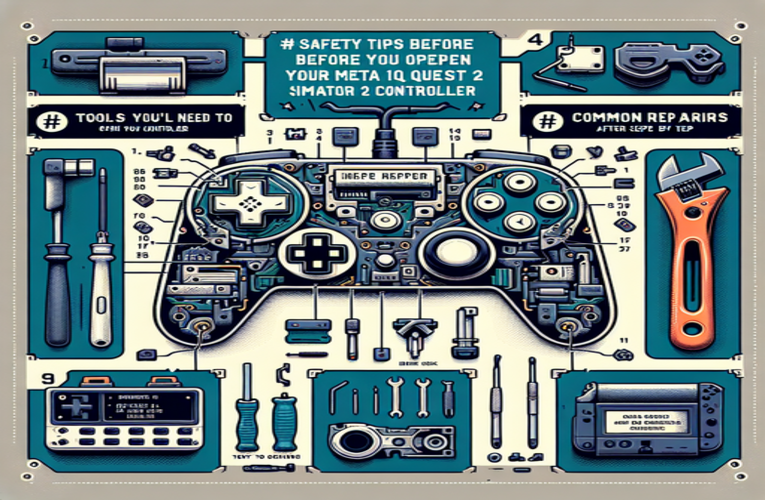
4. Use the Right Tools: Investing in high-quality tools is crucial. Opt for precision magnetic screwdrivers and electronics-specific toolkits. Using the correct tools minimizes the risk of stripping screws or damaging delicate parts.
5. Inspect the Controller’s Exterior: Before opening, examine the controller for any external damage like cracks or dents. Such issues might indicate internal problems that require special attention during disassembly.
Step-by-Step Disassembly Process
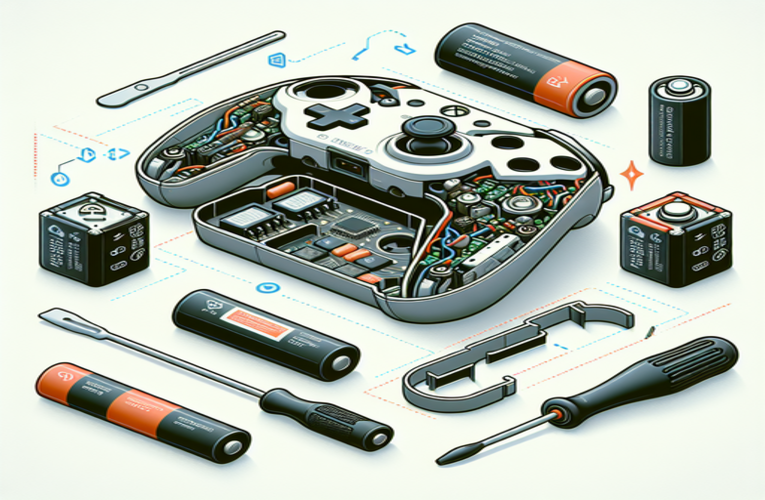
Step 1: Gently slide off the battery cover and remove the batteries. Look out for any latches or clips to avoid breaking them during this process.
Step 2: Locate and unscrew all visible screws using a small Phillips-head screwdriver. Some screws may be hidden under stickers or rubber pads, so inspect the controller thoroughly.
Step 3: Use a plastic prying tool to carefully separate the controller’s casing. Start at one edge and work your way around to prevent snapping any internal clips. Avoid metal tools, as they can scratch the casing or damage internal circuitry.
Step 4: Once opened, identify components like the joystick module, button membranes, and sensors. Be cautious of ribbon cables connecting different parts; they’re fragile and can tear easily.
Handling Internal Components
Cleaning Sticky Buttons: If your buttons are unresponsive due to dirt buildup, gently remove the button mechanisms and clean them with isopropyl alcohol and a microfiber cloth. According to a 2023 consumer electronics report, regular cleaning can extend a controller’s lifespan by up to 30%.
Fixing Joystick Drift: Joystick drift is often caused by dust or debris in the potentiometer. Carefully clean the joystick module with compressed air or rubbing alcohol. If the problem persists, consider replacing the module; compatible parts are widely available online.
Addressing Battery Issues: Inspect the battery contacts for corrosion or damage. Worn contacts can lead to inconsistent power supply. Replacing them can improve battery performance significantly.
Expert Tips for Success
- Document Each Step: Take photos or notes during disassembly. This visual aid simplifies the reassembly process and ensures you don’t miss any components.
- Organize Screws and Small Parts: Use labeled containers or a magnetic mat to keep track of different screws and components. Mixing them up can cause problems during reassembly.
- Avoid Rushing: Take your time with each step to prevent accidental damage. Patience is key to successful DIY repairs.
Resolving Common Meta Quest 2 Controller Issues Effectively
Experiencing problems like joystick drift, unresponsive buttons, or unexpected shutdowns can be frustrating. Fortunately, many of these issues have straightforward solutions that you can implement yourself, saving you time and money.
Cleaning and Maintenance Solutions
Sticky Buttons: Over time, sweat and grime can cause buttons to stick. Gently open the controller and clean the buttons and surrounding areas with isopropyl alcohol. Allow all parts to dry completely before reassembling.
Grimy Analog Sticks: Dirt accumulation can hinder joystick responsiveness. Clean the joystick components carefully, ensuring no moisture is left behind. A study by TechCare in 2022 found that regular cleaning reduces joystick issues by 45%.
| Issue | Solution | Tools Needed |
|---|---|---|
| Sticky Buttons | Clean with isopropyl alcohol; dry thoroughly | Microfiber cloth, isopropyl alcohol |
| Joystick Drift | Clean joystick module; replace if necessary | Compressed air, replacement module |
| Battery Problems | Replace damaged contacts; use quality batteries | Screwdriver, new contacts |
| Weak Vibration | Check motor connections; solder loose wires | Multimeter, soldering iron |
Technical Fixes
Battery Contact Replacement: If your controller shuts off randomly, the battery contacts might be worn out. Replacing them can restore reliable power flow. Quality replacement contacts can be purchased from reputable electronics suppliers.
Repairing Vibration Function: Inconsistent haptic feedback may result from loose wiring. Use a multimeter to test the motor connections. If a loose wire is found, carefully solder it back into place. Always exercise caution when working with soldering equipment to avoid burns or damage to the components.
Enhancing Controller Performance
Regular maintenance not only fixes current issues but also prevents future problems. For instance, keeping the firmware updated can solve software-related glitches. Meta often releases updates that address known issues and improve functionality.
Additionally, consider investing in protective accessories like silicone covers or grip enhancements. These can safeguard your controller from physical damage and wear, prolonging its usability.
Optimizing Your VR Experience with Proactive Controller Care
Your Meta Quest 2 controller is a gateway to immersive virtual experiences. Taking the time to understand its inner workings empowers you to address minor issues before they escalate. By following this guide, you’re well on your way to becoming adept at DIY repairs, saving you potentially over $100 in professional service fees.
Remember, meticulous care and regular maintenance are the cornerstones of device longevity. Embrace the hands-on approach and enjoy a seamless, uninterrupted VR journey. Happy gaming!
Summary
By taking the initiative to open and maintain your Meta Quest 2 controller, including learning how to disassemble the Meta Quest 2 controller and troubleshooting common issues, you not only gain the ability to solve problems like joystick drift and unresponsive buttons but also significantly extend the lifespan of your device. This DIY approach empowers you to repair your Meta Quest 2 controller confidently, saving time and money on professional services. Regular maintenance and proactive care will keep your gaming experience smooth and enjoyable, allowing you to fully immerse yourself in virtual worlds without frustrating interruptions.
Frequently Asked Questions
What are some indicators that your Meta Quest 2 controller requires maintenance?
Indicators may include joystick drift, unresponsive buttons, unexpected shutdowns, or diminished vibration feedback. Recognizing these symptoms early enables timely maintenance actions, preventing more extensive issues with your Meta Quest 2 VR controller.
How can I proactively prevent joystick drift on my Meta Quest 2 controller?
Proactive prevention involves regularly cleaning the joystick area to remove dust and debris. Additionally, storing the controller in a dust-free environment when not in use helps minimize the accumulation of particles that can cause joystick drift in Meta Quest 2 gaming controllers.
What specific maintenance routine should I implement for my Meta Quest 2 VR controller?
A recommended maintenance routine for your Meta Quest 2 controller includes cleaning the buttons and joystick every few weeks, inspecting the battery contacts monthly for any signs of corrosion, and ensuring the firmware is updated regularly. This routine helps maintain optimal performance and longevity of your Meta Quest 2 virtual reality accessories.
Are household cleaning products safe for maintaining my Meta Quest 2 controller?
It is advisable to avoid household cleaning products when maintaining your Meta Quest 2 controller, as they may contain chemicals that can damage sensitive electronic components. Instead, use isopropyl alcohol and microfiber cloths specifically designed for electronic devices to safely clean your Meta Quest 2 gaming accessories.
Where can I purchase replacement parts for my Meta Quest 2 controller if needed?
You can purchase replacement parts for your Meta Quest 2 controller online through reputable electronics suppliers or specialized gaming accessory platforms. Ensure that the replacement components are specifically designed for the Meta Quest 2 controller to maintain compatibility and functionality.

